Laser engraving has become increasingly popular in recent years, with many people using it to create personalized and custom items. One area where laser engraving is particularly useful is in engraving metal blanks. Metal blanks are pieces of metal that have been cut to a specific shape and size, making them ideal for a variety of different projects. In this blog post, we'll take a look at the process of laser engraving metal blanks and explore some of the ways you can use this technique to create unique and customized items.
Step 1: Choose your metal blank
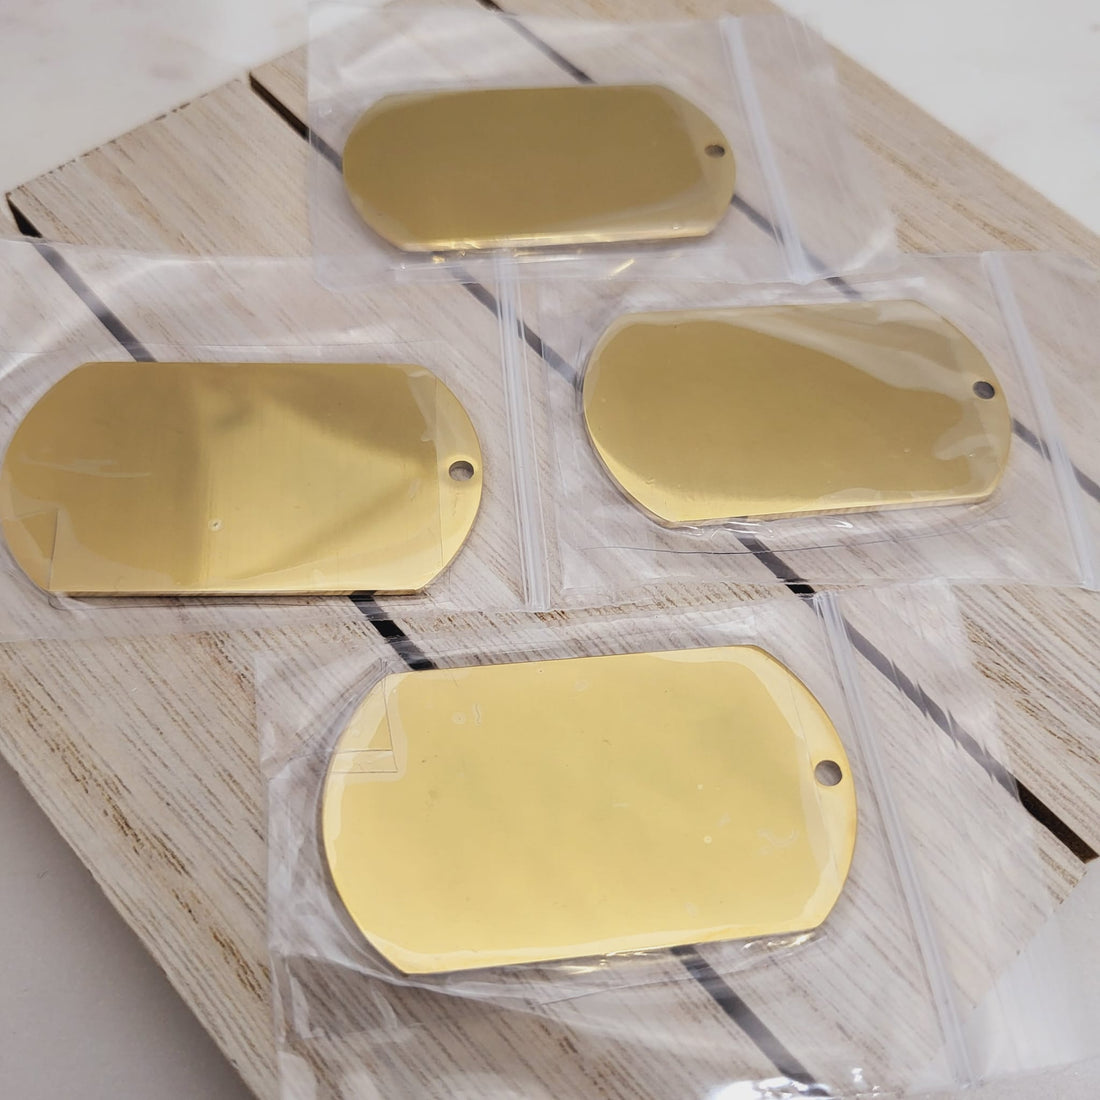
The first step in laser engraving a metal blank is to choose the blank itself. There are many different types of metal blanks available, including stainless steel, aluminum, brass, and copper. Each type of metal will produce a different effect when laser engraved, so it's important to choose the one that will best suit your project. For example, stainless steel is a popular choice for items like keychains or dog tags, while brass is often used for jewelry or decorative items.
Step 2: Prepare the metal blank
Once you have your metal blank, you'll need to prepare it for engraving. This typically involves cleaning the surface of the metal and removing any dirt or debris that may be present. You may also need to sand or Mirror polish the surface of the metal to create a smooth and even surface for the laser to work with.
Step 3: Design your engraving
The next step is to design your engraving. This can be done using a variety of different software programs, including Adobe Illustrator or CorelDRAW. When designing your engraving, it's important to consider the size and shape of the metal blank, as well as the type of engraving you want to create. For example, you may want to create a simple text engraving or a more complex design that incorporates images or graphics.
Step 4: Set up your laser engraver
Once your design is complete, it's time to set up your laser engraver. This typically involves selecting the appropriate settings for your metal blank, including the laser power and speed. It's important to follow the manufacturer's instructions carefully when setting up your engraver to ensure that you achieve the best possible results. If you have any difficulty in reaching right settings for your engraver do let us know and we can help you out.
Step 5: Engrave the metal blank
With your engraver set up and ready to go, it's time to start engraving the metal blank. This is typically done by placing the metal blank into the engraver and running the laser over the surface of the metal. The laser will remove a small amount of material from the metal, creating the desired engraving.
Step 6: Finish the engraved metal blank
Once the engraving is complete, you'll need to finish the metal blank to protect the engraving and give it a polished look. This typically involves cleaning the surface of the metal and applying a protective coating, such as a clear lacquer or wax. You may also want to add additional decorative elements to the metal blank, such as a chain or decorative attachment.
In conclusion, laser engraving metal blanks is a great way to create customized and personalized items that are both unique and durable. With the right tools and techniques, you can create a wide range of different items, from jewelry and keychains to decorative items and more. So why not give it a try and see what you can create with laser engraving? We do have variety of Stainless Steel Laser Engraving Blanks that may be suitable for your DIY Engraving or Etsy Handmade projects.
Adding new products every week to inventory. Make sure you bookmark us and keep checking so you do not miss out on our new additions.